{diy} gold bow ring
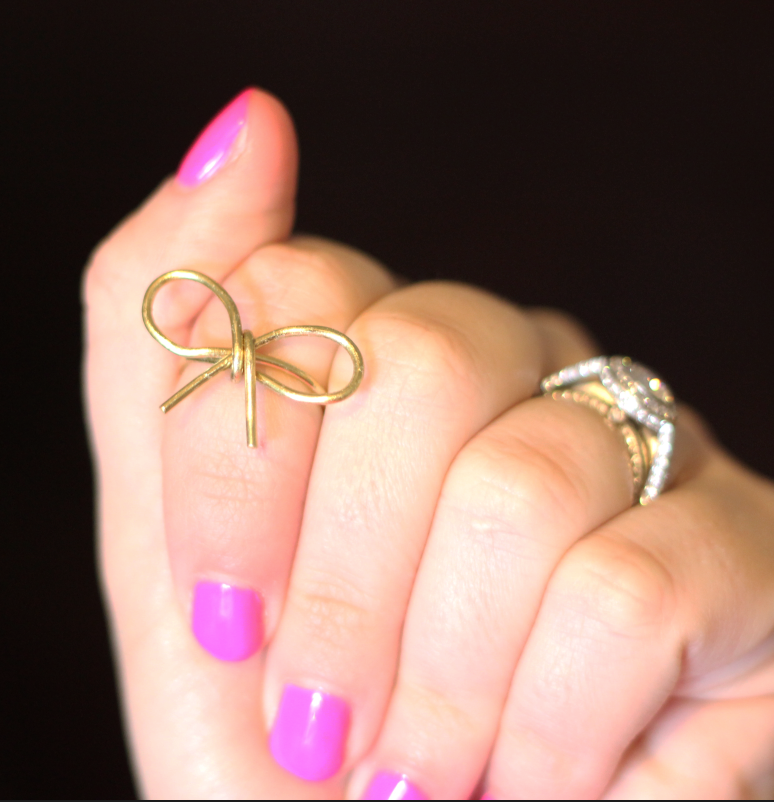
good morning! I wanted to share with you one of my favorite diy projects I have done in a while – a diy gold wire bow ring!
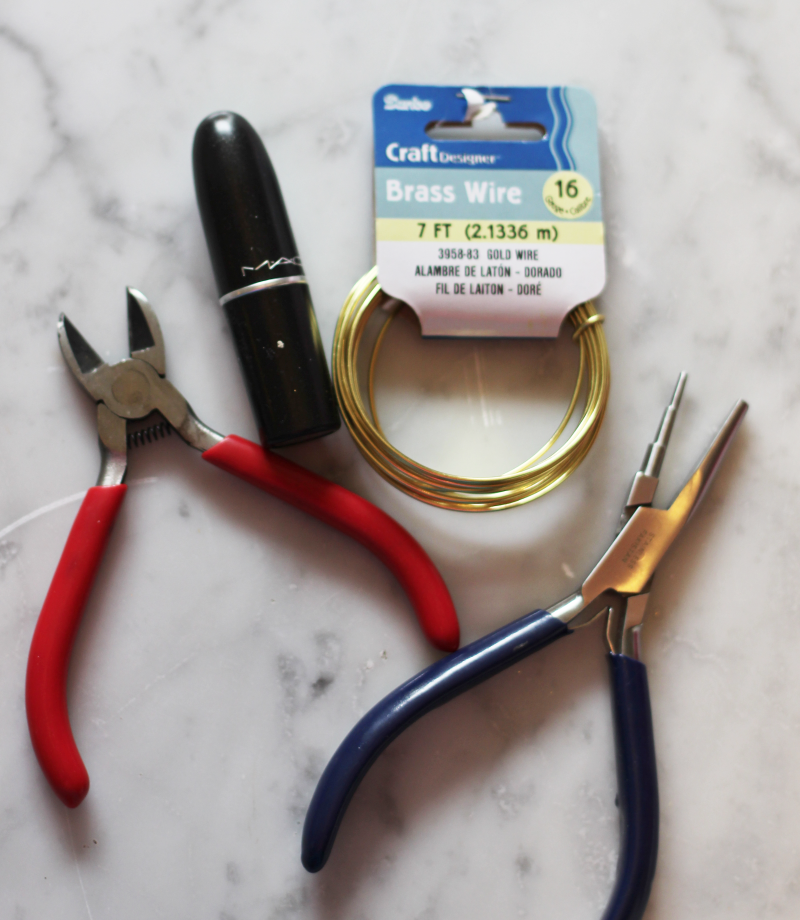
I originally found this tutorial here and knew that I had to try it myself. The video is super helpful, so make sure and check that out if you need to! First you will need gold wire, wire cutters, flat nose pliers, round nose pliers and a tube of lipstick. My pliers are round on one side and flat on the other and I think I got them at Michaels. Any way to reduce craft clutter!
Then you will want to cut a piece of wire about 8″ long. I found that cutting it a bit longer was helpful when trying to manipulate the loops of the bow. I used 16 gauge wire but think that if I did it again, I would probably use something a little thinner like 18 or 20 gauge. It was a little tricky to bend at times. Then you wrap the wire around the lipstick tube to form the “ring.”

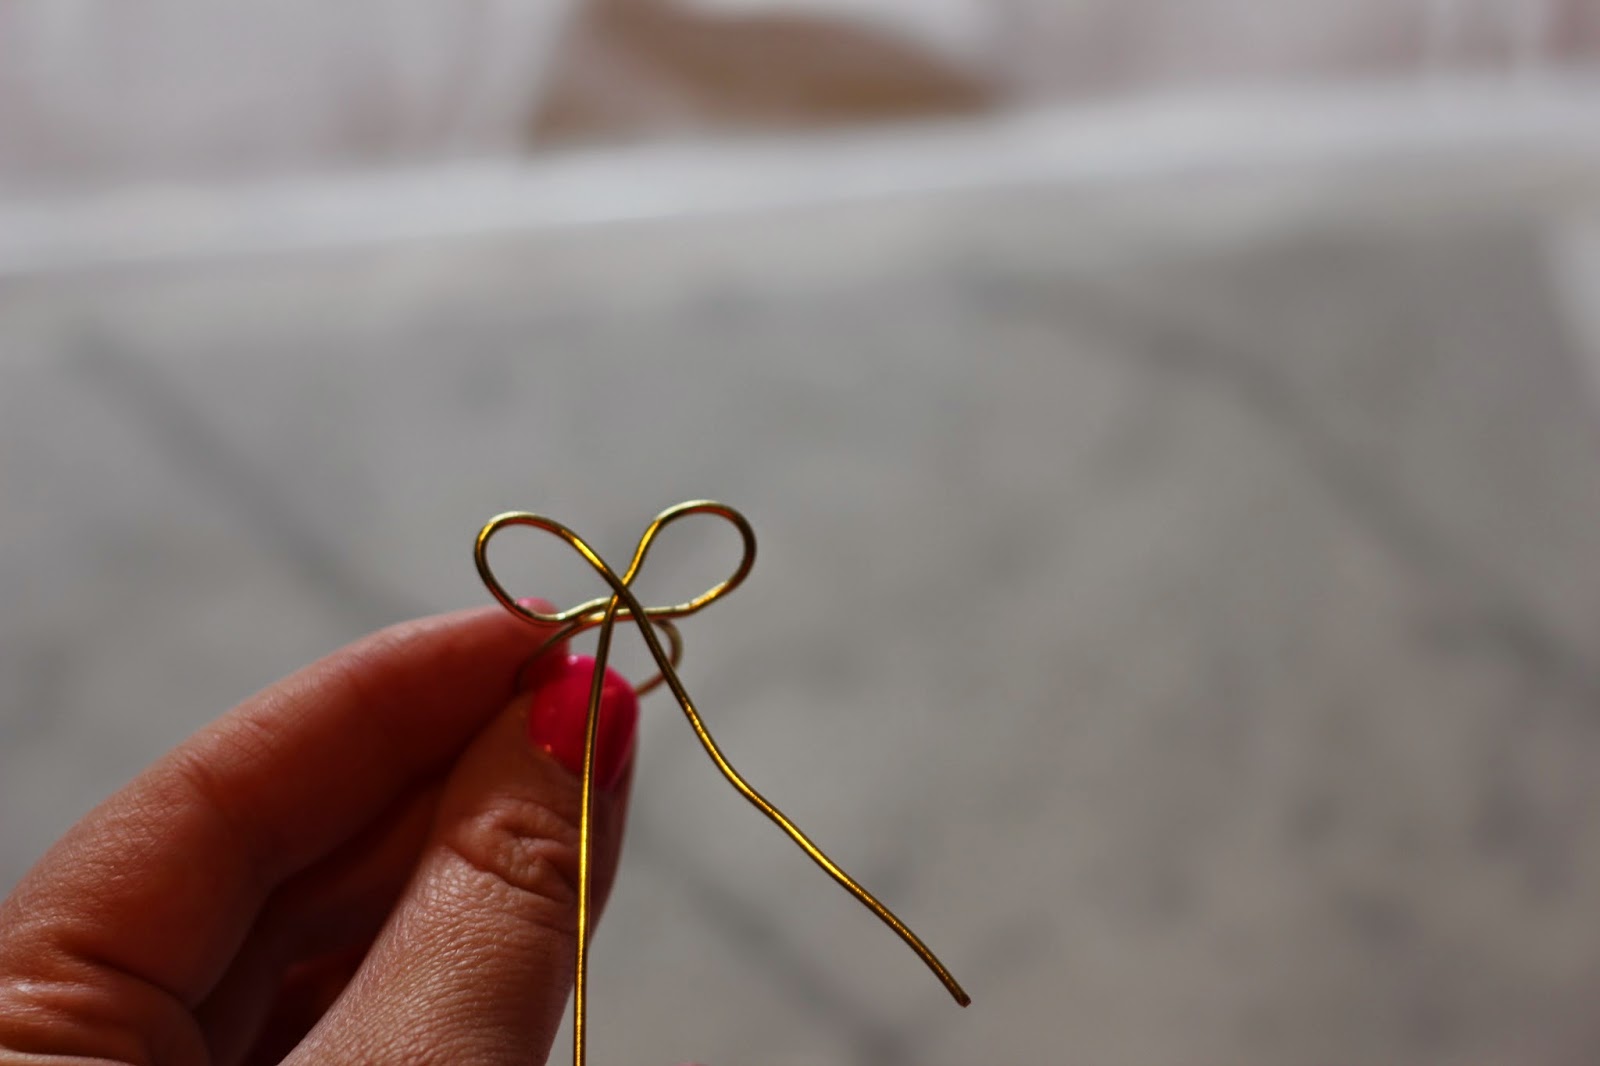
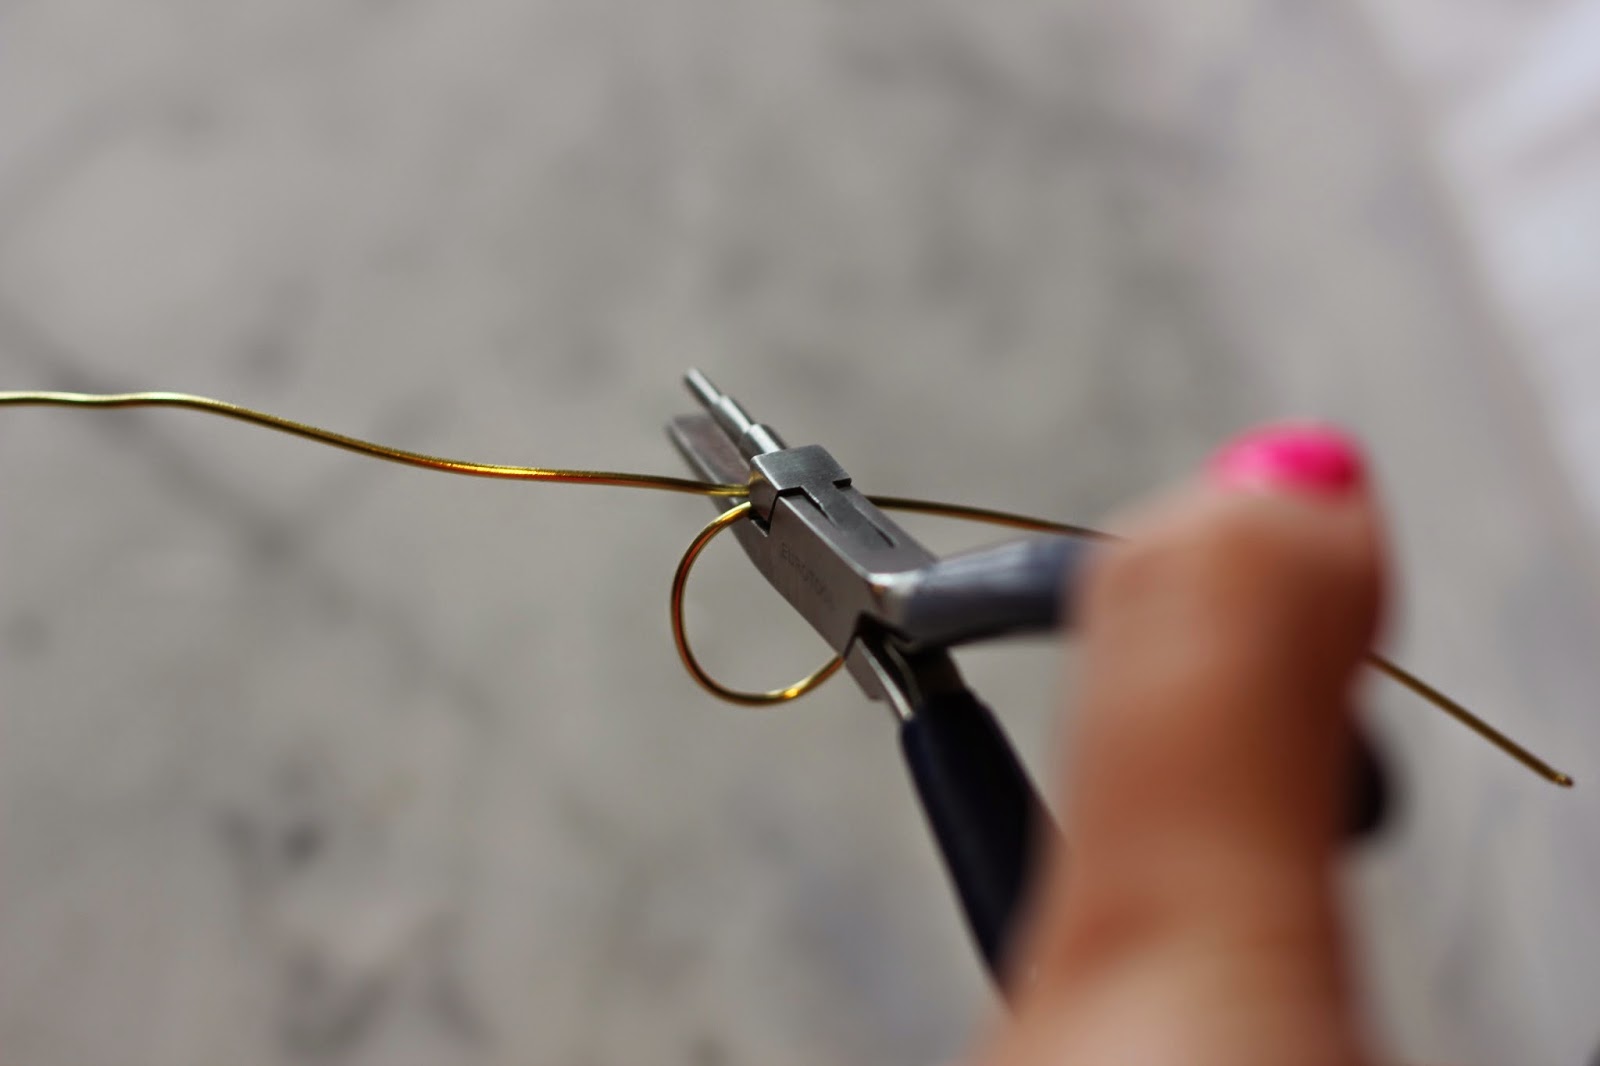
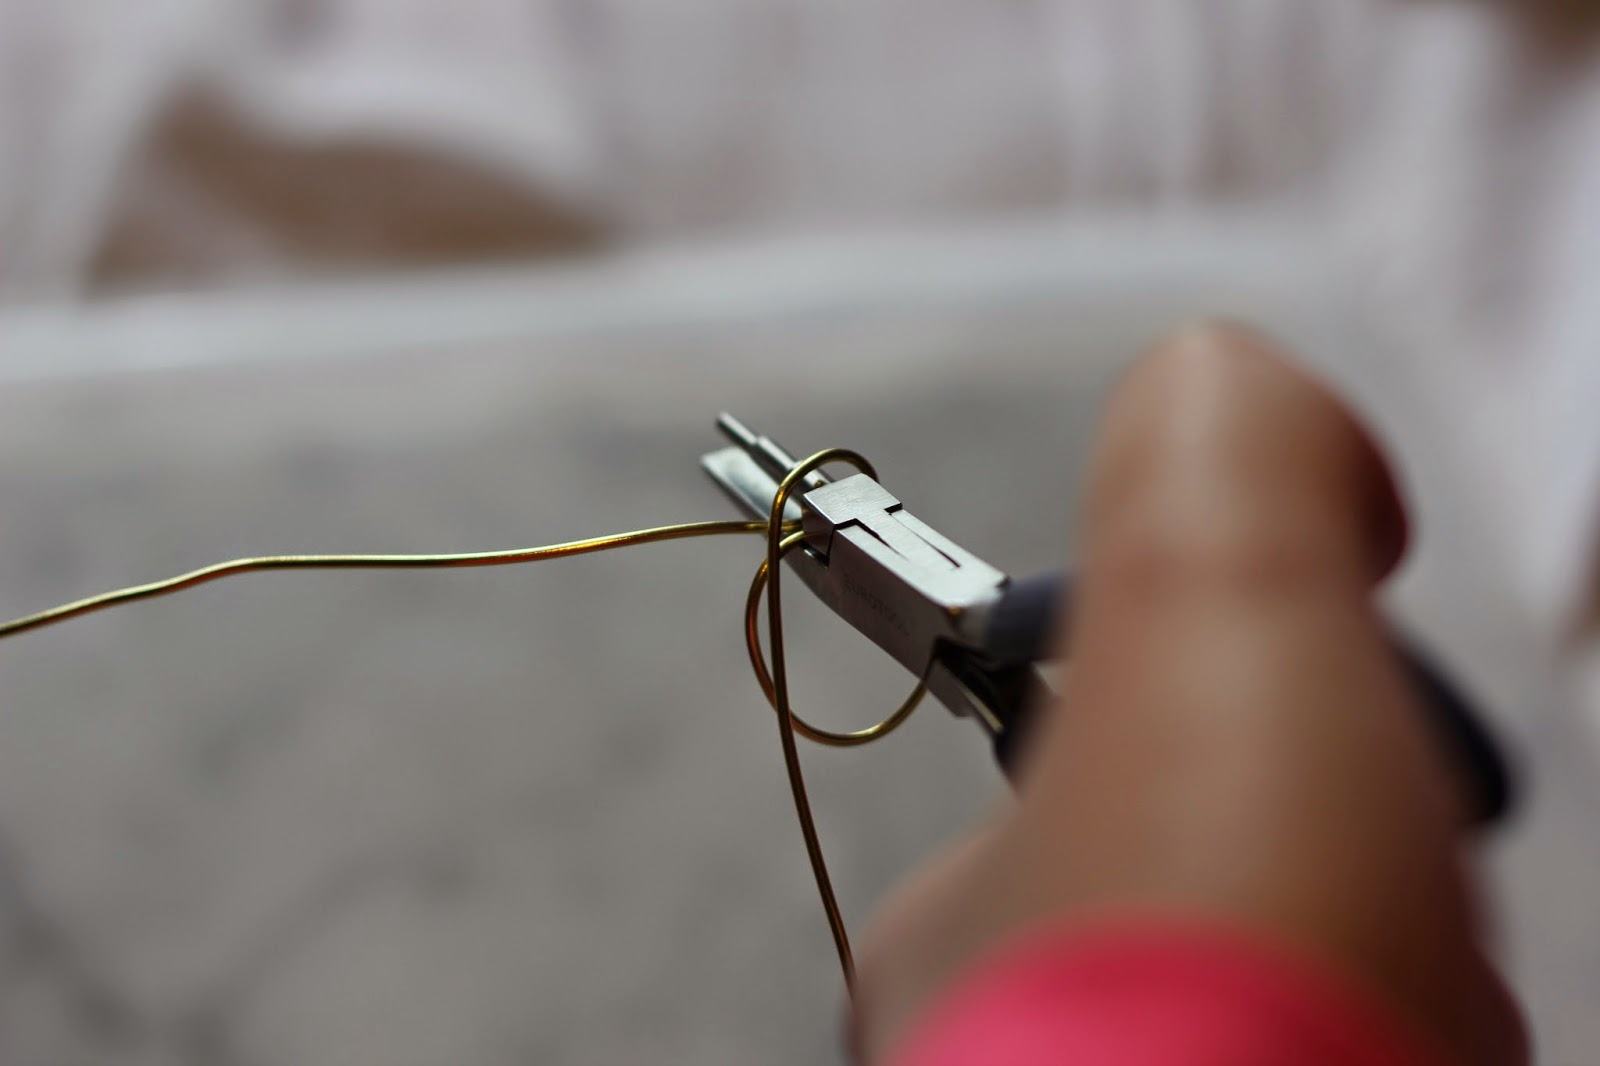
Then you will want to form the “bow” by looping each side of wire around the round nose pliers. Clamp down in the middle to keep the ring stable while doing this step. Don’t worry about getting this part too perfect – you can manipulate the wire a bit after you finish this part.
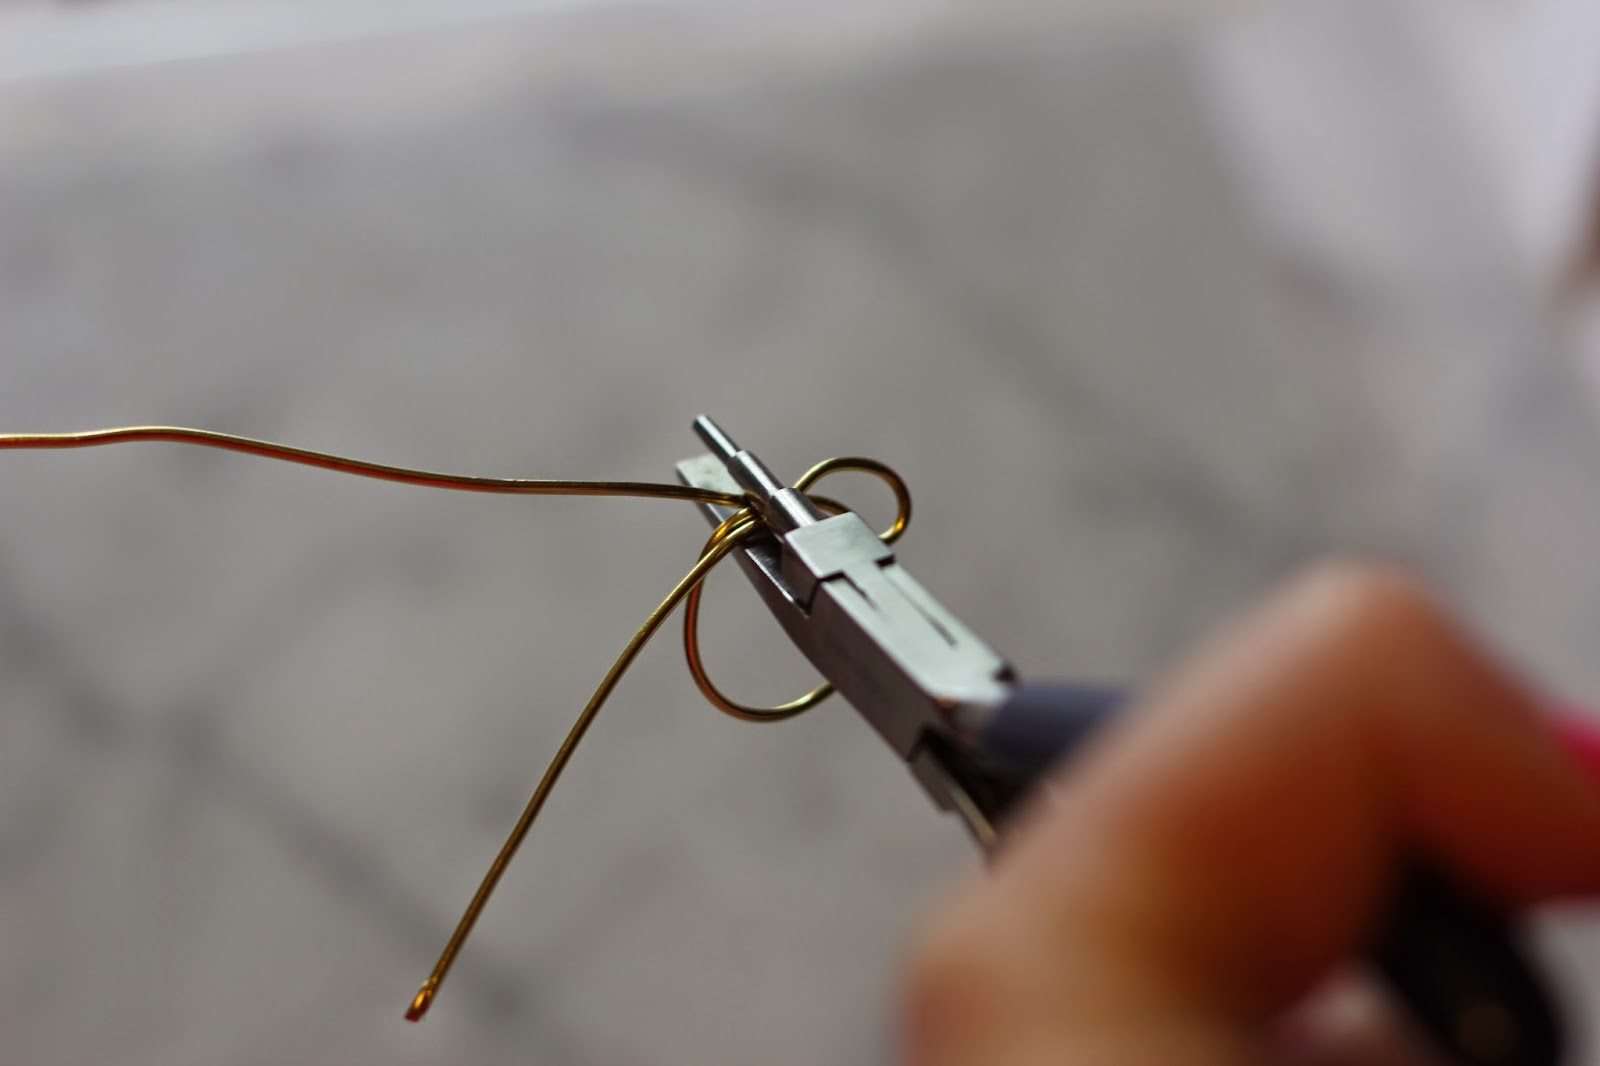
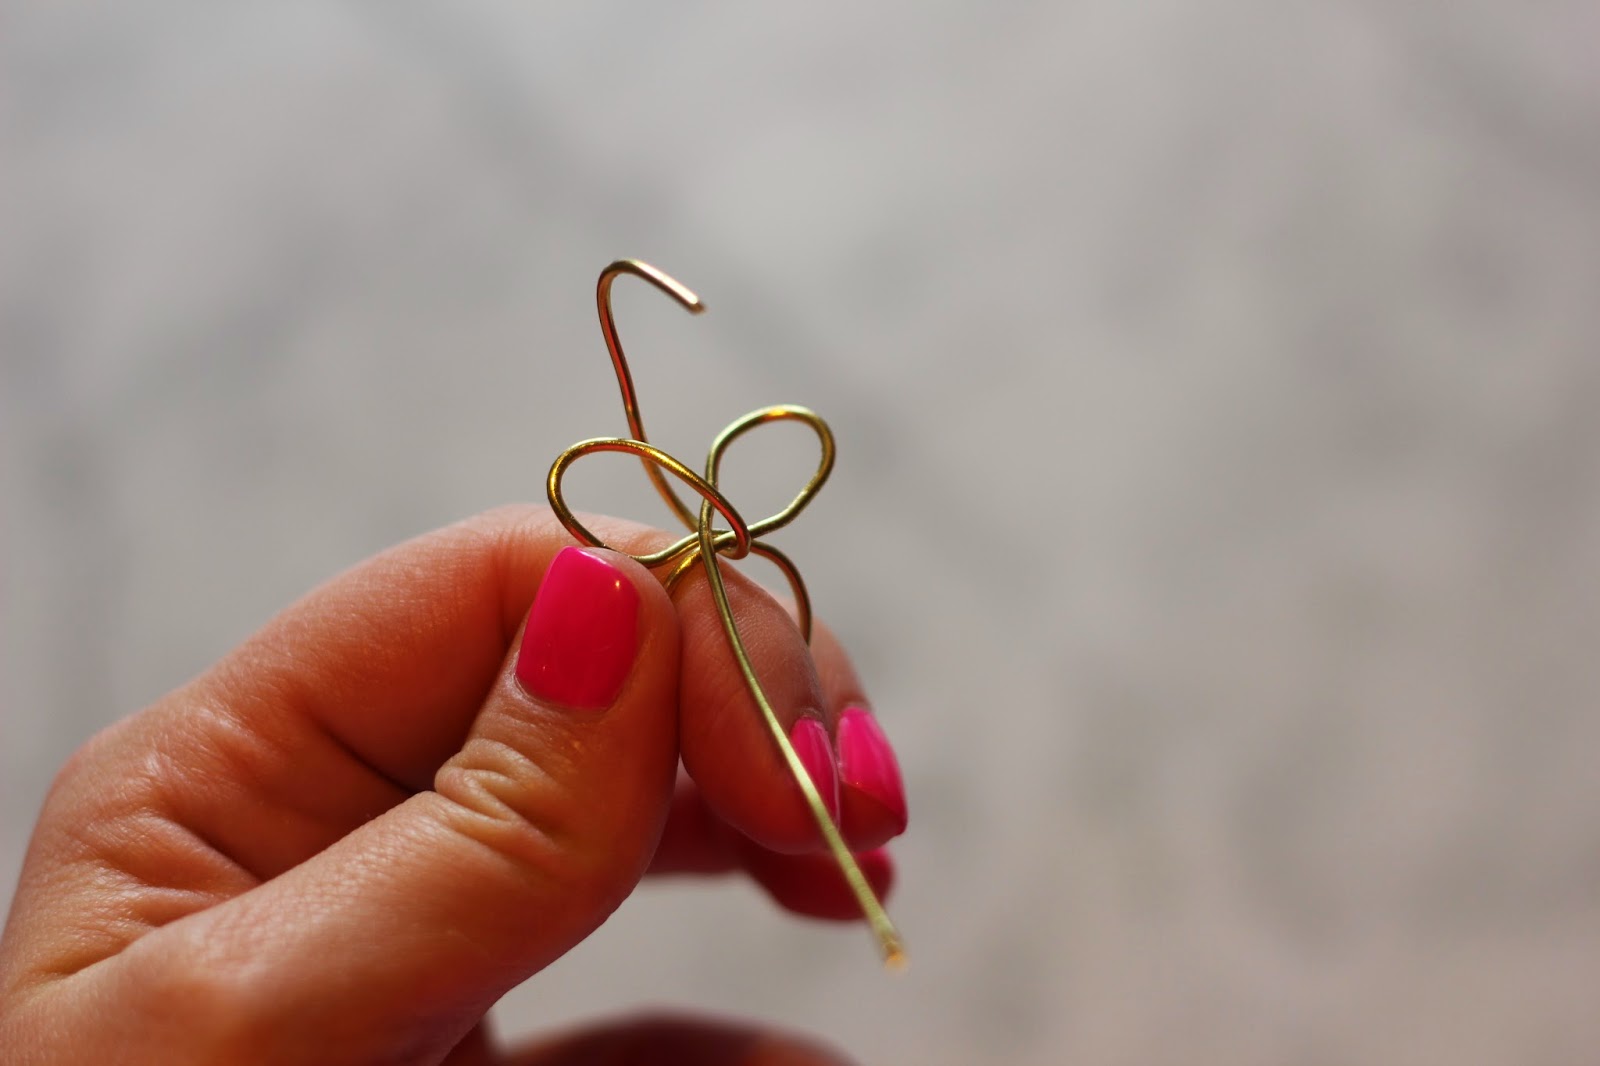
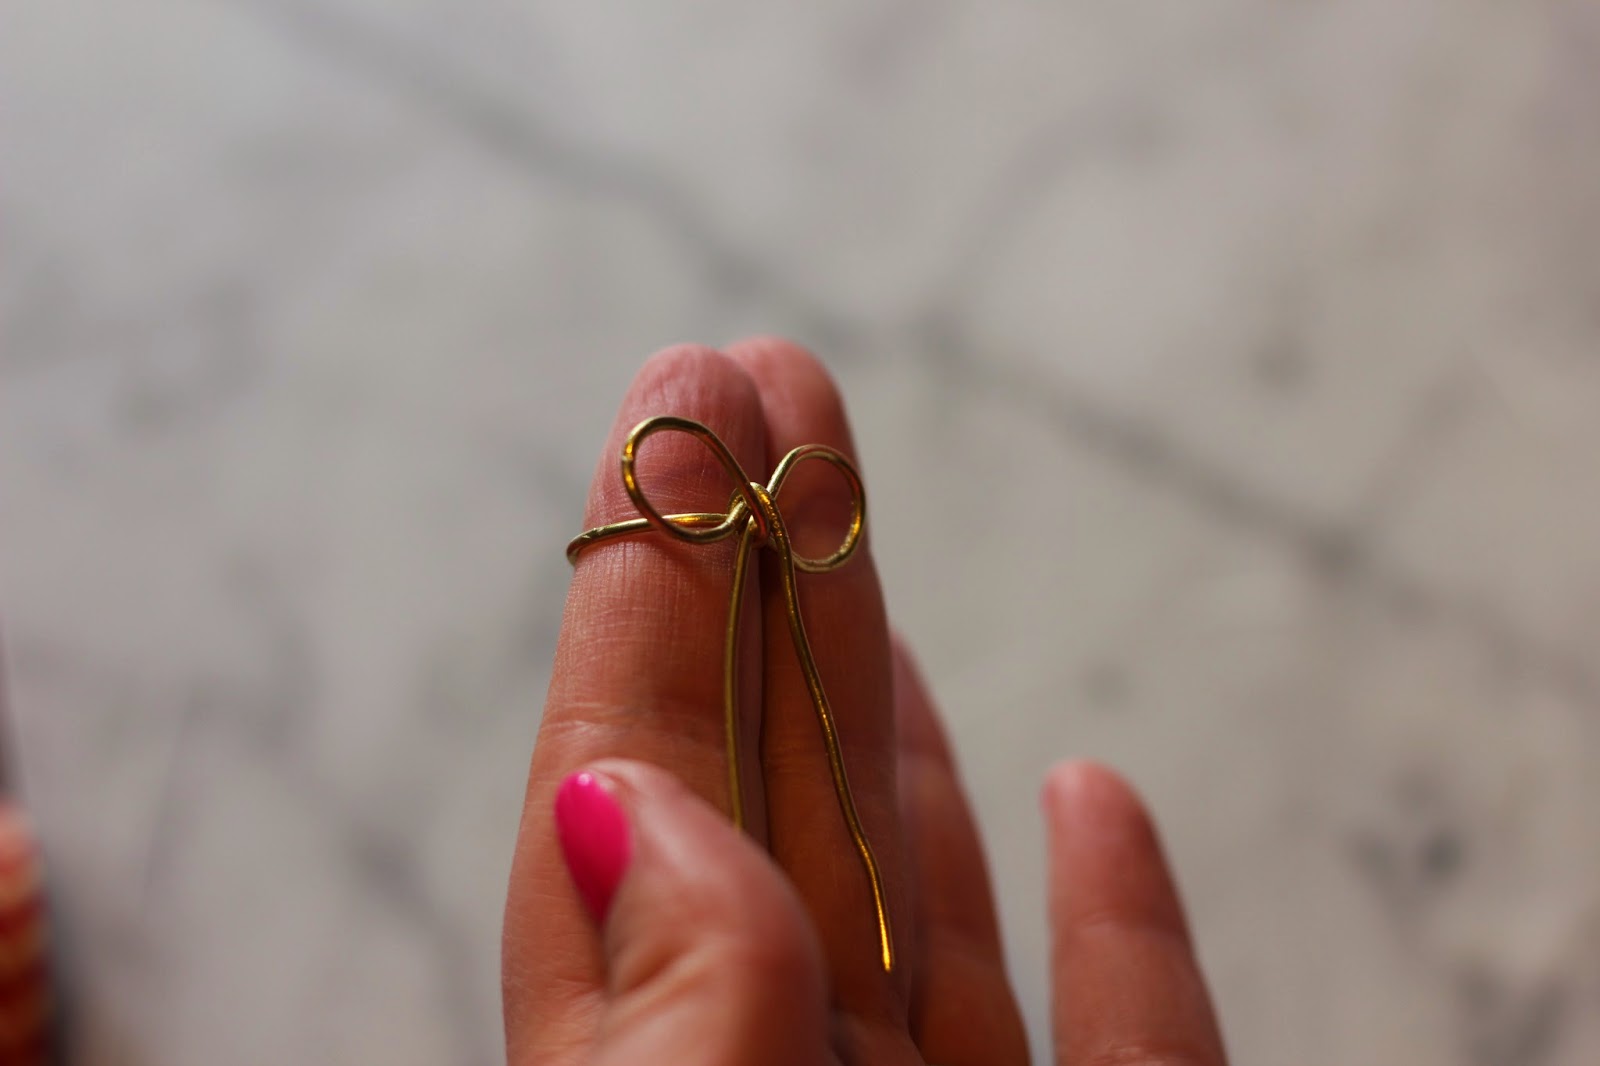
You will then have your bow and will want to “tie” it to keep it from coming apart. Take the wire that is on top and loop that piece through the center of the ring and pull it down over the center of the bow. Then pull tight and push down with the flat nose pliers to create a flat center of your bow. Then cut the ends and your ring is finished! Have fun crafting!